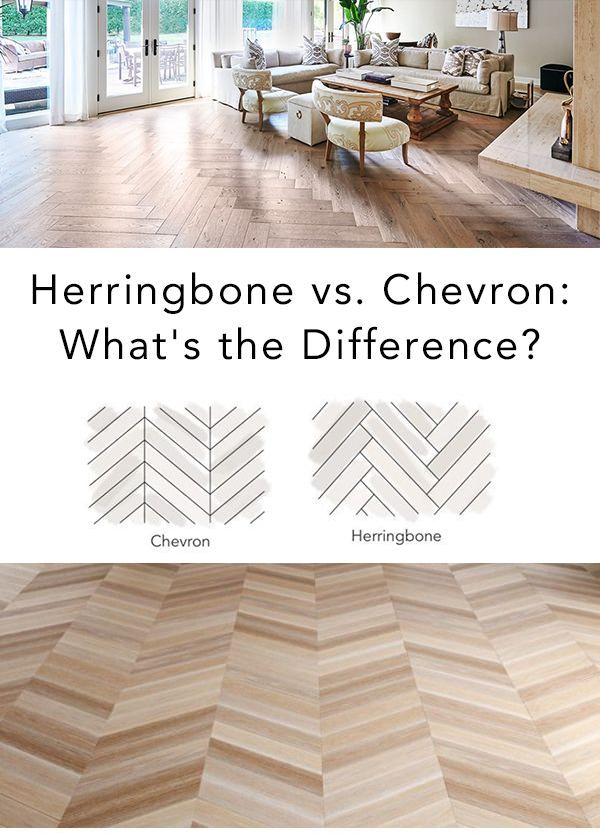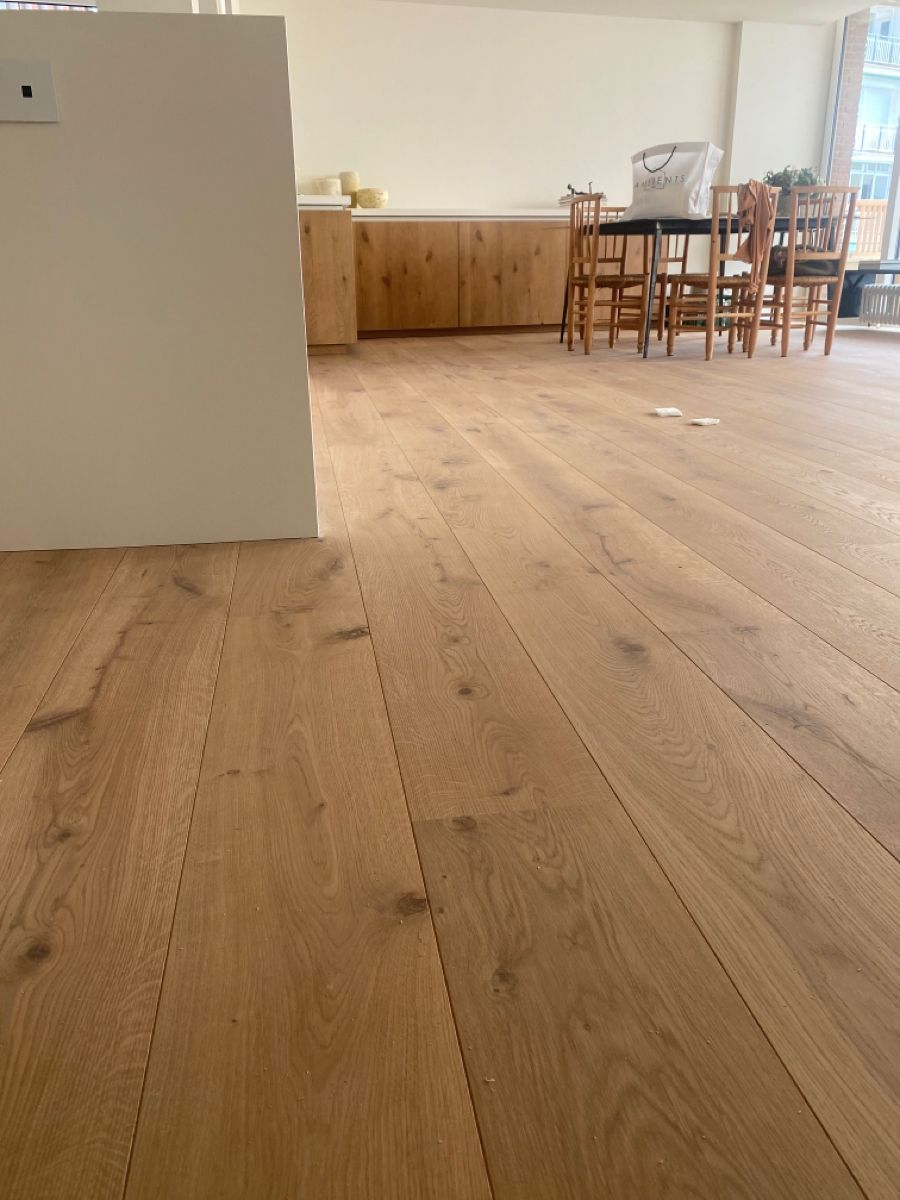
Herringbone flooring is one of the most sought-after looks in modern interiors — elegant, timeless, and full of character. But it’s also one of the most installation-sensitive flooring patterns. Even a small mistake during installation can lead to visible gaps, uneven lines, or buckling down the road.
At Liwin Flooring, we’ve supplied herringbone and chevron flooring to contractors, designers, and distributors worldwide. Here are the most common installation problems — and how to avoid them.
1. Uneven Lines and Misaligned Angles
The problem: The herringbone pattern doesn’t line up, and the angles look off.
Why it happens:
The starting point wasn’t set correctly
Planks weren’t checked for squareness during installation
The subfloor wasn’t level
How to avoid it:
Always start from the center of the room and work outward
Use a laser level or chalk line to set a precise baseline
Check alignment every few rows — don’t wait until the end
Make sure the subfloor is clean, dry, and level before starting
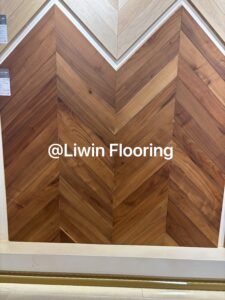
2. Gaps Between Planks
The problem: Small gaps appear between planks, especially at the joints.
Why it happens:
The tongue-and-groove wasn’t fully engaged
Planks were forced together at the wrong angle
The flooring wasn’t acclimated to the room before installation
How to avoid it:
Let the flooring acclimate in the room for 48–72 hours before installation
Engage the tongue-and-groove fully — you should hear or feel a click
Don’t force planks — if it doesn’t fit, check the angle and try again
Use a tapping block, not a hammer directly on the edge
3. Buckling or Cupping After Installation
The problem: The floor starts to buckle, cup, or lift after a few weeks or months.
Why it happens:
No expansion gap was left around the edges
Moisture from the subfloor or the room
Incorrect adhesive or installation method
How to avoid it:
Always leave an 8–10mm expansion gap around walls, columns, and door frames
Test the subfloor moisture level before installation
Use the correct adhesive for your flooring type (glue-down vs. floating)
In humid climates, choose engineered wood over solid wood — it’s more stable
4. Pattern Drift
The problem: The herringbone pattern slowly drifts, and the angles become inconsistent.
Why it happens:
The baseline wasn’t maintained
Planks were installed too quickly without checking
Mixed plank sizes or thicknesses
How to avoid it:
Work in small sections and check alignment frequently
Use spacers to maintain consistent gaps
Only use planks from the same batch and thickness
If you notice drift, stop and correct it immediately — don’t continue
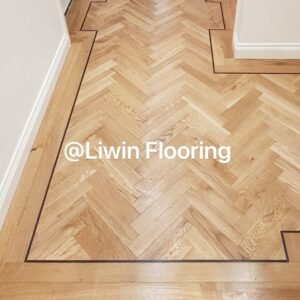
5. Poor Finish or Surface Damage
The problem: The surface gets scratched or damaged during installation.
Why it happens:
Tools or materials dragged across the floor
No protective layer during installation
Debris trapped under the planks
How to avoid it:
Clean the subfloor thoroughly before installation
Use protective covers when moving tools or materials
Sweep or vacuum frequently during installation
Wear clean, soft-soled shoes
Why Factory Precision Matters
Even with perfect installation, the final result depends on the quality of the flooring itself. At Liwin Flooring, we focus on:
Precise tongue-and-groove cutting — for a tight, seamless fit
Consistent thickness and dimensions — no mismatched planks
Proper drying and acclimation — for stability after installation
Custom sizes and patterns — to match your project’s exact needs
When the flooring is made right, installation becomes much easier — and the result lasts for years.
Need Help With Your Herringbone Project?
Whether you’re a contractor, designer, or distributor, we’re here to help.
🔹 Custom herringbone and chevron flooring
🔹 Factory-direct pricing
🔹 Flexible MOQ
🔹 Technical support and installation guidelines
Contact us today for a catalog, samples, or a quote.