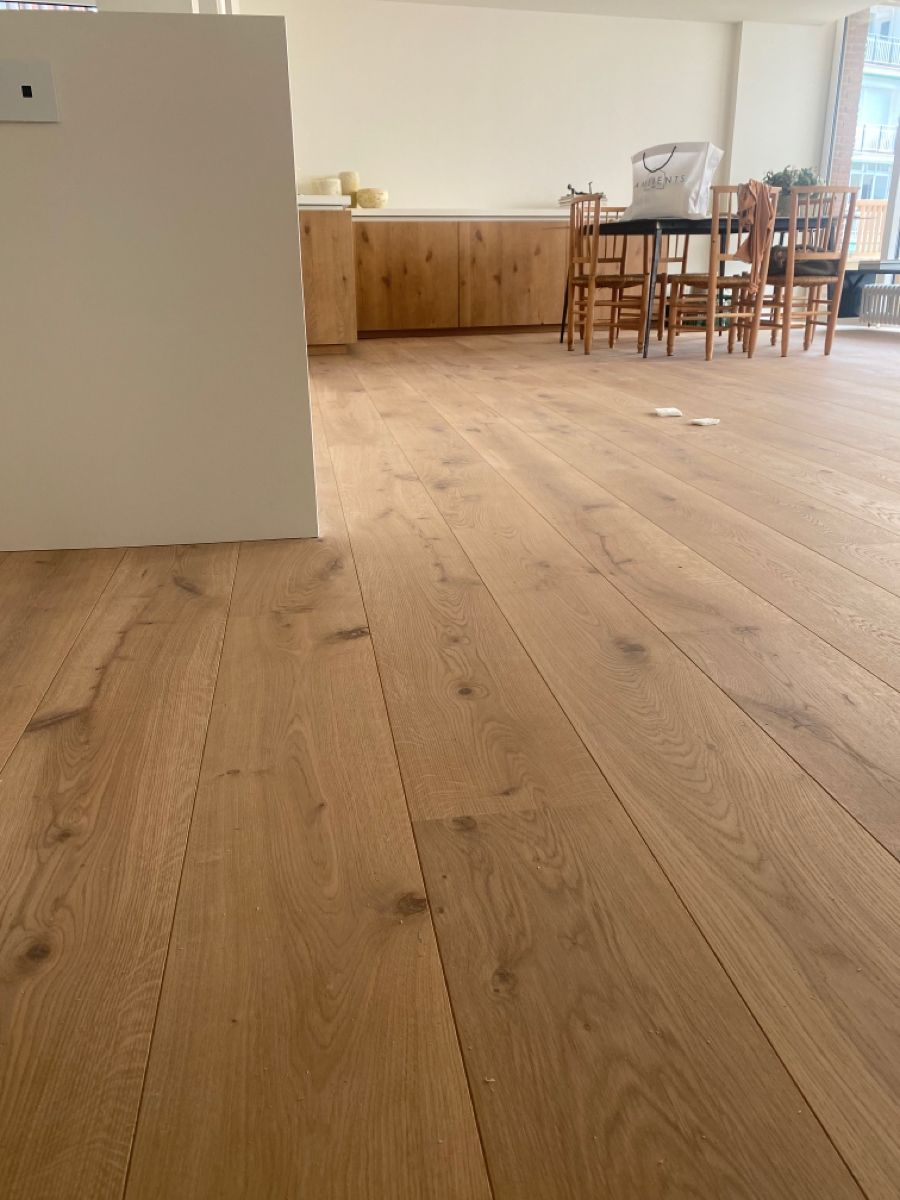
A complete pre-installation checklist for wood flooring
Many people think flooring installation is simple: pick a style, pay the money, and the installer shows up to lay it down. But this “take it for granted” mindset is exactly why so many homeowners end up with squeaky floors, warping within a year, or gaps wide enough to fit a coin.
In most cases, the root of these problems isn’t the flooring itself — it’s the preparation work that was skipped.
Based on years of industry experience, we’ve summarized 6 essential steps you must complete before installation. Do these right, and you’ll enjoy your floor for years without a single worry.
1. Communicate Your Installation Requirements in Advance
Before booking your installation, you need to clarify a few key questions:
Will the floor be floating or nail-down/glue-down?
Will it be installed over underfloor heating?
Are there special pattern requirements (e.g., herringbone, chevron)?
Does the subfloor require levelling or moisture-proofing?
The sooner you share this information, the more accurate your installation plan will be. This is especially critical for underfloor heating systems — choosing the wrong engineered wood or installation method can affect heat conduction or even cause the flooring to deform.
Clear communication = fewer detours.
2. Schedule a Professional On-Site Measurement
Don’t wait until the flooring arrives to think about measurements. The right process is:
Contact us early — schedule the measurement at least 1–2 weeks before your planned installation date
On-site inspection — professional team will measure the actual area and check subfloor flatness, moisture content, and other key indicators
Confirm quantity — determine the exact amount of flooring and accessories needed
Many clients only give a “rough area” during inquiry, but installation often leads to material shortages or waste without accurate measurements. A professional measurement saves you money on materials.
3. Understand the Installation Timeline
Flooring doesn’t arrive and get installed overnight. Here are the key milestones you should be aware of:
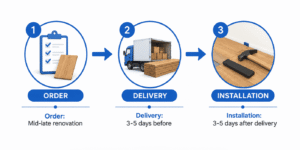
Place your order during the mid-to-late renovation stage — allow time for production and shipping
Schedule delivery 3–5 days before installation — this allows the flooring to acclimate to your room’s temperature and humidity
Begin installation 3–5 days after delivery — this “settling” period helps reduce future expansion and contraction risks
Special note: If you’re ordering custom parquet patterns, special sizes, or specific wood species, lead times are longer — plan 3–4 weeks ahead.
4. Inspect the Flooring and Accessories Upon Delivery
When the flooring arrives, don’t rush to start the installation. Inspect first, then install.
Verify the model — check that the style, specification, and quantity match your order
Check the appearance — look for damage, cracks, or excessive color variation
Any issues found during inspection are far easier to resolve before installation. Problems solved before installation cost the least.
5. Communicate On-Site with the Installer
Before the installer starts working, take 5 minutes to go over these points on-site:
Installation direction — should the planks run parallel or perpendicular to the main light source?
Starting point — which room to start from? How should the entrance be handled?
Expansion gaps — how much space to leave around the walls? (Typically 8–12mm, more for underfloor heating)
Special areas — how to handle thresholds, pipes, and staircases?
No matter how skilled your installer is, they can’t read your mind. You explain your needs, and they’ll deliver the result you want.
6. Perform a Final Inspection After Installation
Once installation is complete, don’t just admire the looks — take time to inspect. Use these methods to ensure your floor will stand the test of time:
Walk test — walk across the room and listen for squeaks or loose spots
Flatness check — use a level or straightedge; the gap should not exceed 3mm
Joint inspection — check that seams are even and expansion gaps haven’t been filled
Baseboard finishing — ensure the gap between baseboards and the floor is even and clean
Issues found during final inspection are much easier to fix on the spot than months later. Don’t rush through this step — it saves you from major headaches down the road.
Summary
When it comes to flooring, 30% is the product, 70% is the installation. And the success of installation largely depends on the preparation done beforehand. Each of these 6 steps may seem simple, but missing even one could lead to costly problems later.
If you’re planning to install a new floor, keep this checklist handy. When prep work is done properly, your floor will truly be something you can enjoy without worry.
📩 Have questions about flooring or installation? Contact us for expert advice and a quote!